

Hey there! As a supplier of marine valves, I've seen firsthand how important it is to have the right valves installed correctly on your vessel. Today, I'm gonna walk you through the process of installing a marine solenoid valve. It might seem a bit tricky at first, but with the right steps and a little know - how, you'll have it up and running in no time.
What is a Marine Solenoid Valve?
Before we get into the installation process, let's quickly talk about what a marine solenoid valve is. A solenoid valve is an electromechanically operated valve. In a marine setting, these valves are used to control the flow of fluids like water, oil, or gas in various systems on a ship. They're super handy because you can control them remotely, which is great for systems that need to be adjusted quickly or from a distance.
Tools You'll Need
First things first, gather your tools. You're gonna need a few basic items to get the job done:
- Adjustable wrenches: These are essential for tightening and loosening nuts and bolts.
- Pipe cutter: If you need to cut the pipes to fit the valve, a good pipe cutter is a must.
- Sealant tape: This helps to create a watertight seal between the valve and the pipes.
- Screwdriver: You'll use this to secure any electrical connections.
- Multimeter: This tool is used to check the electrical continuity and voltage, which is important for the solenoid part of the valve.
Step 1: Choose the Right Location
The first step in installing a marine solenoid valve is to pick the right spot for it. You want to choose a location that's easily accessible for maintenance and inspection. Also, make sure it's away from any sources of heat or excessive vibration, as these can damage the valve over time.
The valve should be installed in a dry area to prevent corrosion. If possible, mount it in a vertical position with the solenoid on top. This helps to ensure proper operation and drainage.
Step 2: Prepare the Pipes
Once you've found the perfect location, it's time to prepare the pipes. Measure the length of the pipes that need to be connected to the valve and use a pipe cutter to cut them to the right size. Make sure the ends of the pipes are clean and free of any debris or burrs.
Wrap the threads of the pipes with sealant tape in a clockwise direction. This will help to create a tight seal when you connect the valve. Don't use too much tape, as it can get into the valve and cause blockages.
Step 3: Connect the Valve to the Pipes
Now it's time to connect the valve to the pipes. Carefully align the valve with the pipes and thread it onto the pipe ends. Use an adjustable wrench to tighten the connections, but be careful not to over - tighten, as this can damage the threads.
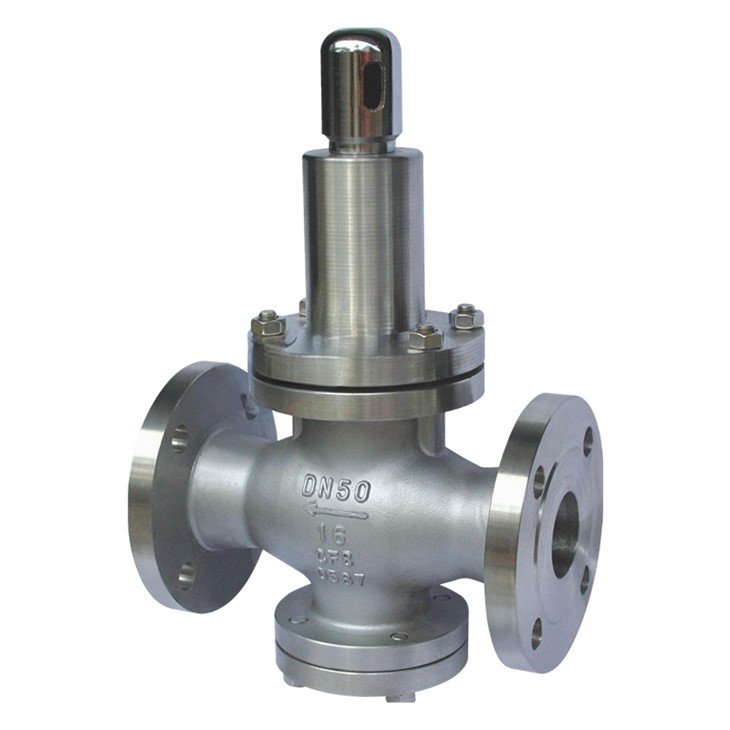

If you're using a flange - type valve, make sure the gaskets are properly seated between the flanges. Tighten the bolts evenly to ensure a uniform seal.
Step 4: Electrical Connections
The solenoid part of the valve needs to be connected to an electrical power source. Before you start, make sure the power is turned off to avoid any electrical shocks.
Locate the electrical terminals on the solenoid valve. Usually, there will be two terminals for the power supply. Use a screwdriver to loosen the terminal screws, insert the wires, and then tighten the screws securely.
Use a multimeter to check the electrical continuity and voltage of the connection. Make sure the voltage matches the rating of the solenoid valve. If it doesn't, you might need to adjust the power supply or replace the valve.
Step 5: Test the Valve
Once the valve is installed and the electrical connections are made, it's time to test it. Turn on the power and check if the valve opens and closes properly. You can do this by observing the flow of fluid through the system.
If the valve doesn't operate as expected, check the electrical connections again to make sure they're secure. Also, check for any leaks around the valve connections. If you find a leak, tighten the connections a little more or add some additional sealant tape.
Other Marine Valves You Might Need
As a marine valve supplier, I know that a solenoid valve is just one part of a complete marine valve system. You might also be interested in other types of valves, such as the Marine Pressure Reduction Valve, which helps to control the pressure in your system. The Marine Gate Valve is another popular choice for controlling the flow of fluids in larger pipes. And if you're looking for a valve to protect your vessel from storm - related water ingress, the Marine Storm Valve is a great option.
Why Choose Our Marine Valves?
Our marine valves are made from high - quality materials that are designed to withstand the harsh marine environment. We offer a wide range of valves to meet your specific needs, whether you're a small boat owner or part of a large shipping company.
Our valves are tested rigorously to ensure they meet the highest industry standards. We also provide excellent customer service, so if you have any questions or need help with installation or maintenance, our team is here to assist you.
Contact Us for Your Marine Valve Needs
If you're in the market for a marine solenoid valve or any other type of marine valve, we'd love to hear from you. Whether you need help with installation, have questions about our products, or are ready to place an order, just reach out to us. We're always happy to have a chat and help you find the perfect valve for your vessel.
References
- "Marine Valve Handbook" - A comprehensive guide to different types of marine valves and their installation.
- Manufacturer's manuals for the specific solenoid valve you're installing. These manuals provide detailed instructions and technical specifications.